Team work
Contents
Introduction
Teams group users who work on the same topics using the same projects (models).
The user to whom the team "belongs" is called team owner. Then he can:
- invite users to this team
- manage user’s permissions
- remove users from groups
Team owner should upgrade his license to TEAM before creating a team.
Other team users can have BASIC or FREE license.
One user can be a member of many teams.
Team owner can also be a member of a team, owned by another user.
Teams main page
Displaying teams: main page > top menu > “Teams” button.
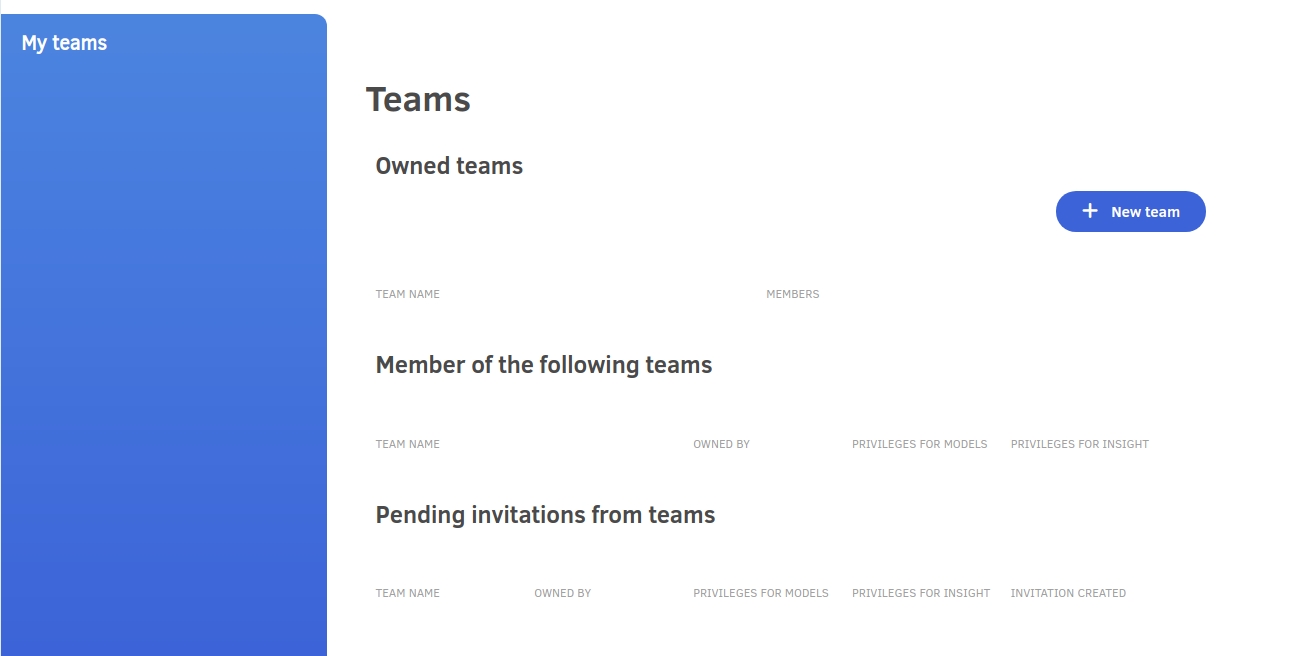
“Teams” main page consists of the following lists:
- “Owned teams” - a list of teams which are owned by current user.
- “Member of the following teams” - a list of teams where user belongs as regular user. These teams are owned by other users.
- “Pending invitations from teams” – a list of invitations for user to join teams owned by other users.
Creating a team
Creating a team: go to teams page > go to section “Owned teams” > click “+New team” button > enter new team name > click “Create” button > enter team name > click "Create" button.
Current user becomes an owner of the added team.
List of owned teams
Teams created by user will be displayed in section “Owned teams”.
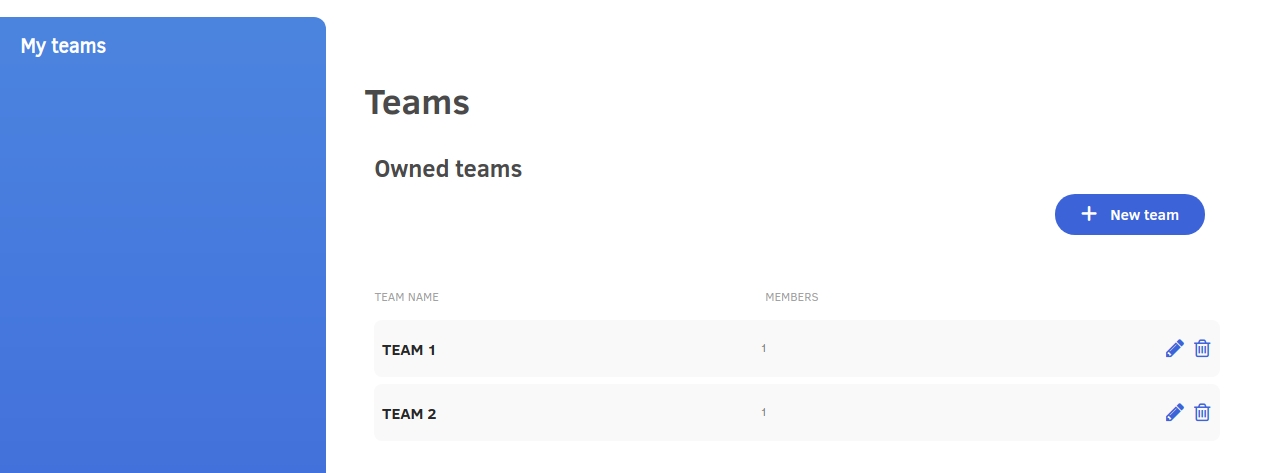
Each line contains description of one team:
- “TEAM NAME”. This field is also a link, which allows to access team settings.
- “MEMBERS” count of members of the team
- Pencil icon. This icon allows to access team settings.
- Bucket icon. This icon allows to delete team.
Deleting a team
Before deleting a team, all models of this team should be deleted.
Deleting a team: go to list of owned teams > select team to delete > click bucket icon > confirm delete.
Team settings
Displaying team settings: go to teams page > go to section “Owned teams” > click pencil icon located on the right side of team descripion.
Team settings contain the following sections:
- Basic team data.
- “Team users” - A list of current team users including owner.
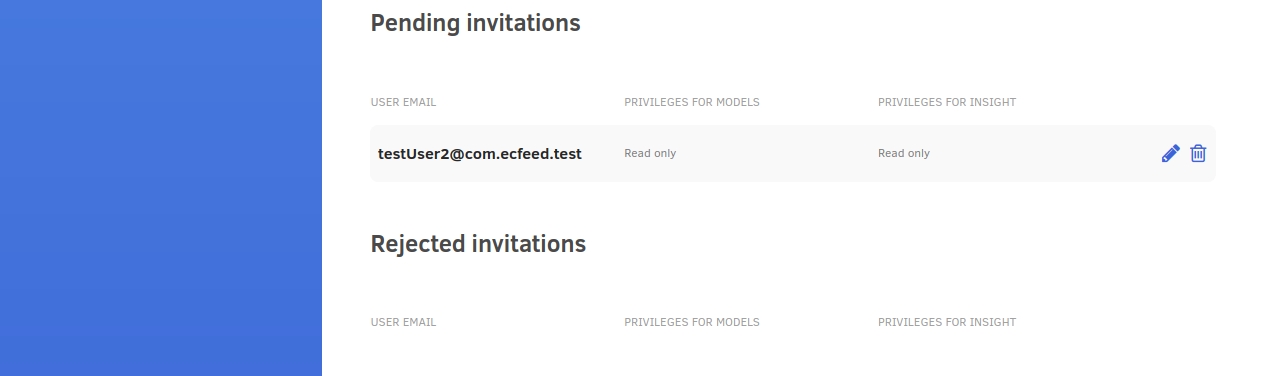
- “Pending invitations” - A list of invitations issued by team owner to other users.
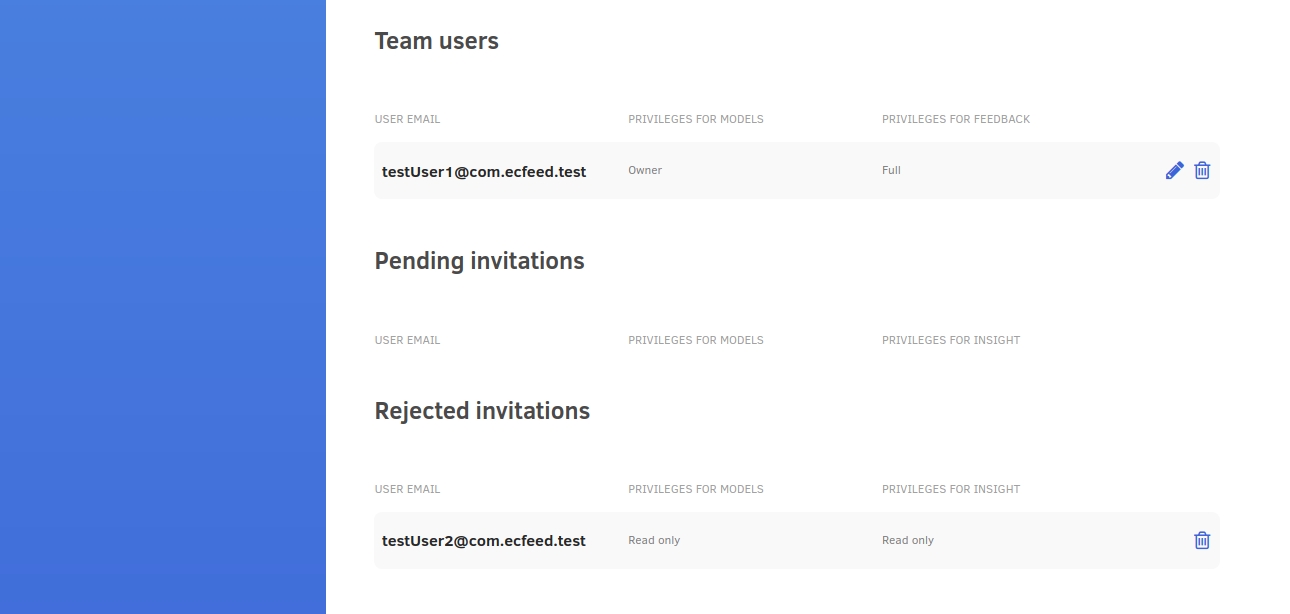
- “Rejected invitations” - A list of invitations rejected by users.
- “Rename a team”. This section allows to change team name.
- “Invite new team member” This section allows to add other users to team via sending invitations to join the team.
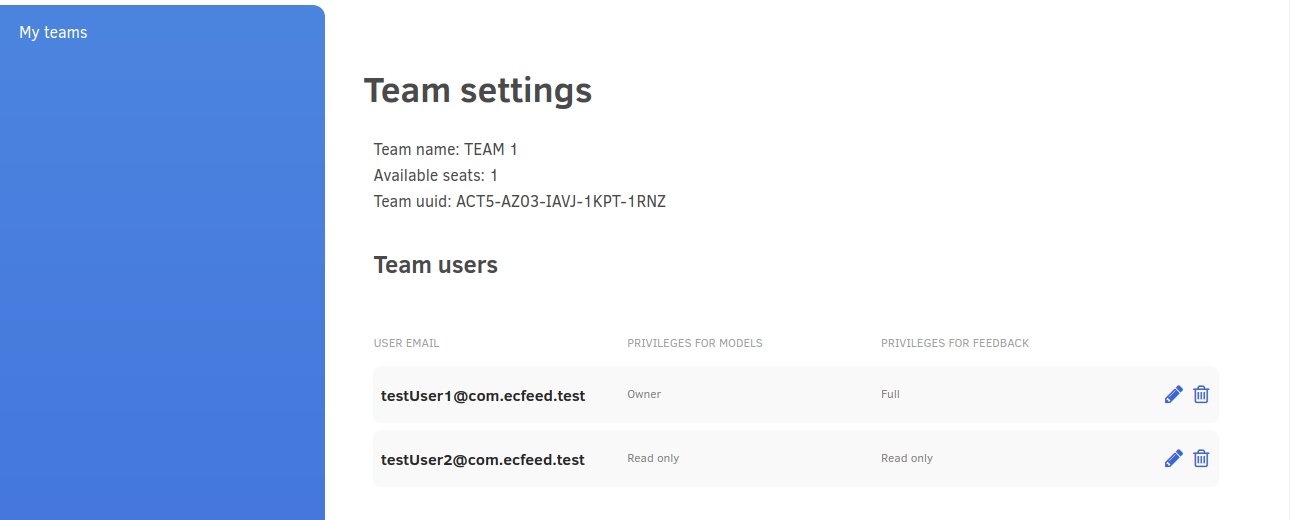
Basic team data
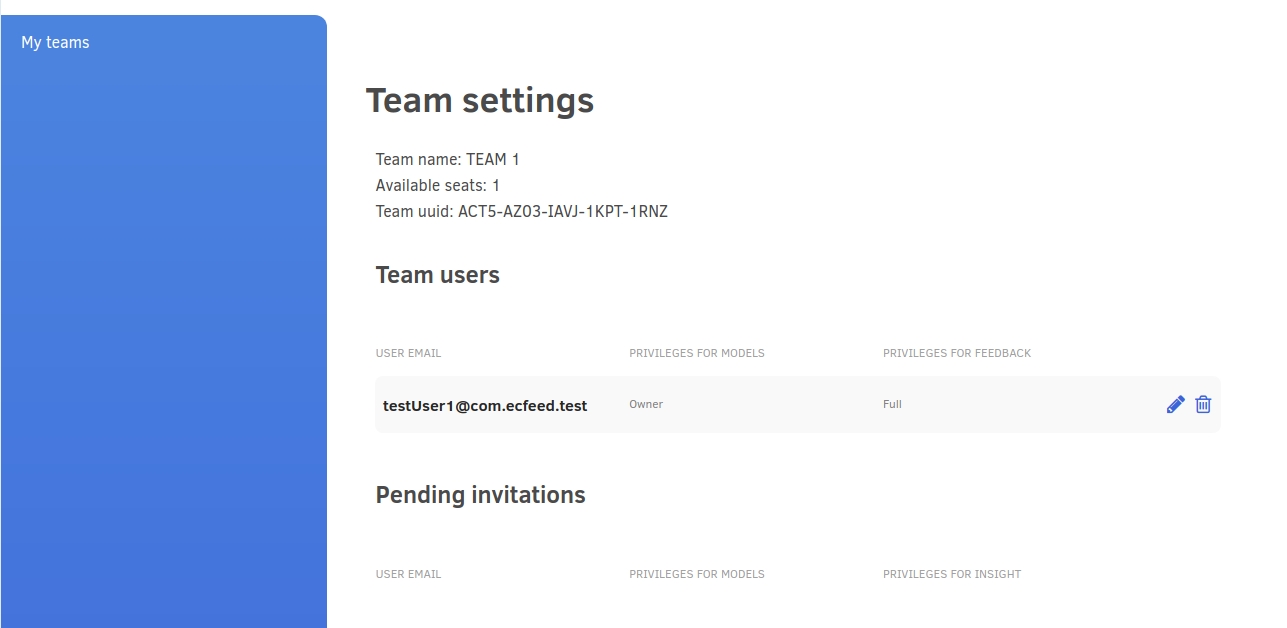
Basic team data contain:
- “Team name”
- “Available seats” - The number of available seats. Remark: this is the number of available seats for all teams owned by current user, not just current team.
- “Team uuid” - unique identifier of a team.
List of team users
List contains current team users including team owner. Each line has the following fields:
- “USER EMAIL”
- “PRIVILEGES FOR MODELS” User privileges for accessing data models.
- “PRIVILEGES FOR INSIGHT”. Privileges for storing insight information (information about the results of test execution).
- Pencil icon allows to change user privileges.
- Bucket icon allows to remove user from team.
Privileges
User privileges for team models:
- “Read Only” - User can only view models.
- “Edit” – user can modify content of models.
User privileges for insight:
- “Read only” - User can browse test execution results.
- “Read & Add data” - User can add test execution results and browse them.
- “Full” - User can also delete test execution results.
Insight refers to test execution results which are stored in the system individually for each model. Insight pages are described in general documentation.
User can be a member o several teams, his privileges may be different for different teams.
Adding a new user to team
In order to add a new user to team the following steps should be performed:
- Team owner should define privileges for the new user.
- Team owner should send an invitation to team for selected user.
- User should accept or reject this invitation.
- If user accepts the invitation then he becomes a member of the team.
- Owner can delete rejected invitations.
Inviting a new user to a team
In order to invite a new user, this user should have an account in ecFeed. Free account is also allowed.
Inviting a user: go to team settings page > go to section “Invite new team member” > go to field “Email” > type user’s email > click “Invite” button > choose privileges for models > choose privileges for insight > click “Send invitation” button.
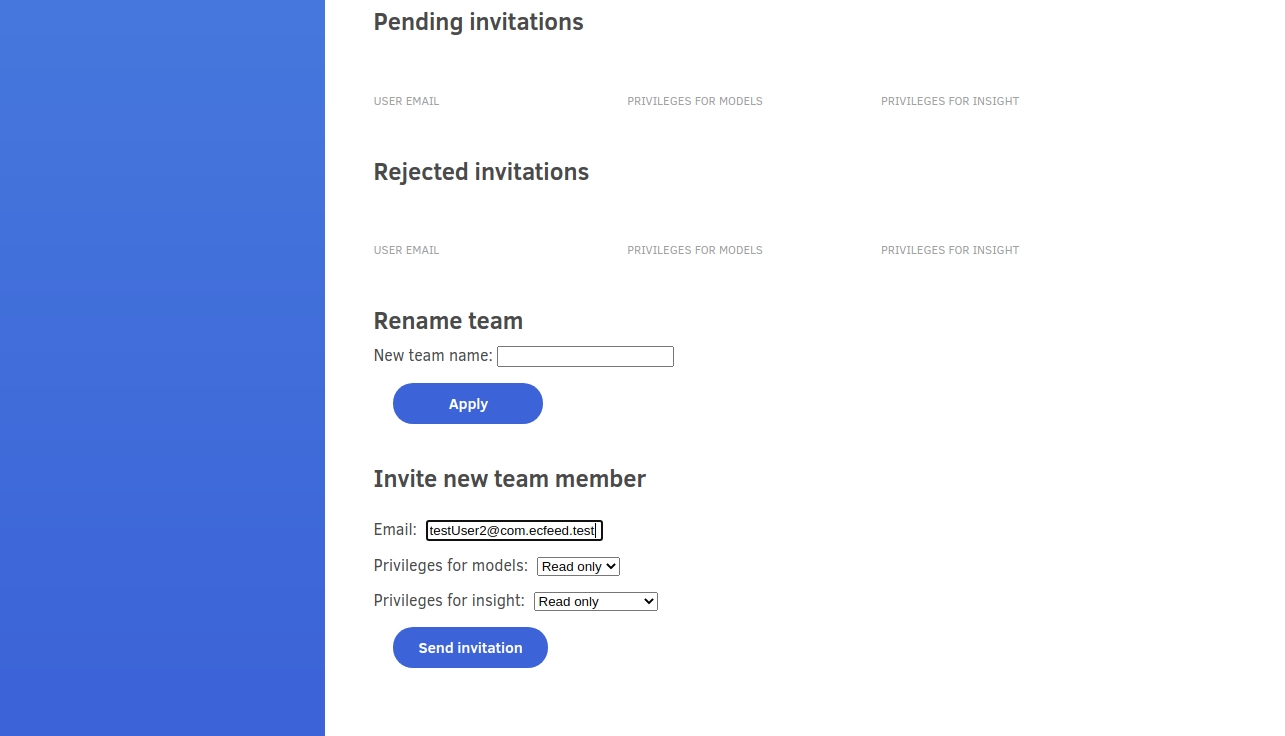
This invitation will appear on the same page in the section “Pending invitations”
Accepting an invitation
In order to accept the invitation, the invited user should click approval icon and confirm operation by clicking “Accept” button on confirmation dialog.
User will be added to the team and his membership will be displayed on teams page, in the section “Member of the following teams”.

Also team owner will see the user as a member o his team on team settings page, in section “Team users”.
Rejecting an invitation
User can refuse to join the team by clicking bucket icon on the list “Pending invitations”. Rejected invitation will be visible for team owner in team settings, on the list “Rejected invitations”. Team owner can delete this invitation using bucket icon.
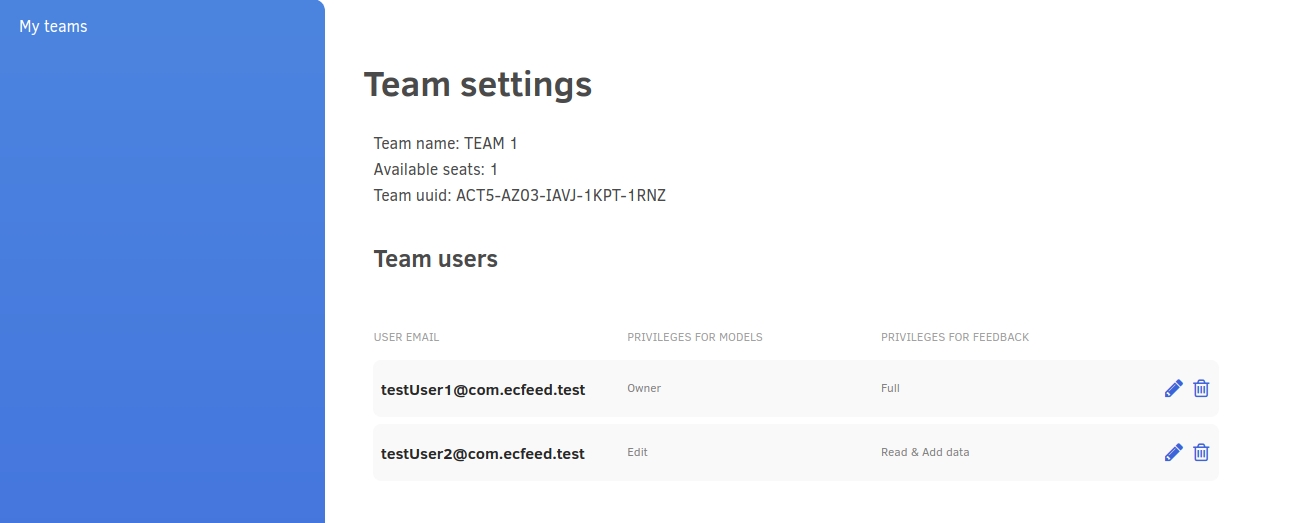
Changing user privileges
Team owner you can change user privileges using pencil icon on right side o user description in “Team users” list. Page “Change user privileges” will be displayed.

After selecting new privileges and clicking "Accept" button, new privileges will be displayed on “Team settings” list.
Renaming a team
Team owner can rename this team: go to Team settings > go to section “Rename team” > enter “New team name” > click button “Apply”.

Removing user from team
Team owner can remove user from team by clicking bucket icon on “Team users” list.
Also user can remove himself from team by clicking bucket icon on list "Member of the following teams".
Team projects
Team owner or any team user with "Edit" privileges can add a new team project.
Adding a new team project: go to Main menu > go to “My projects” > go to left panel > click “My team projects” > in “Teams” combo select a team > click button “+New project” > type project name > confirm.
The new project will be placed in "My team projects" list.
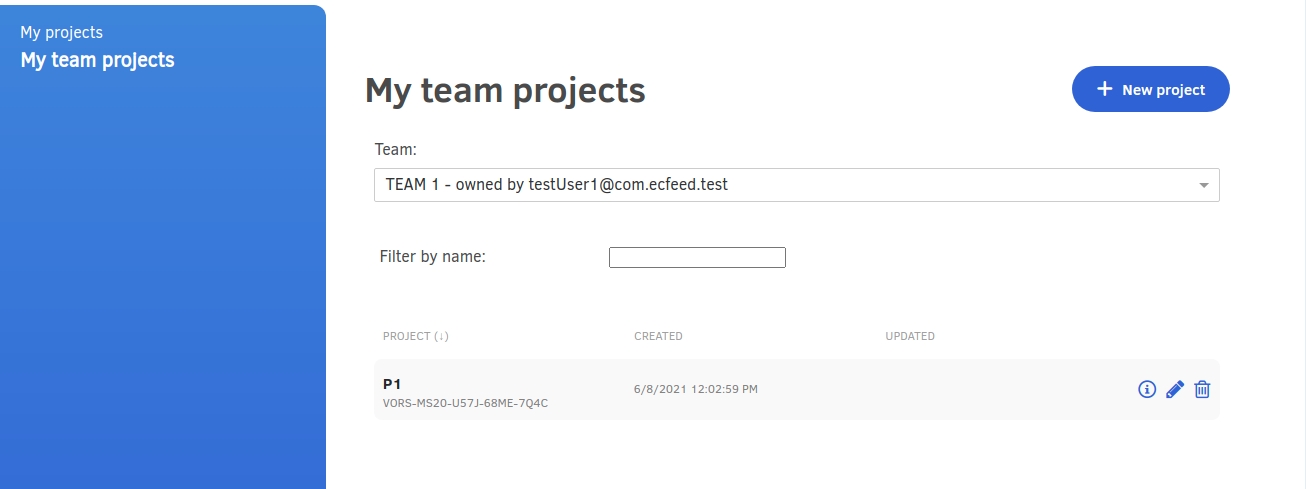
All team users see the same list of projects but changing project content depends on user’s to team privileges. In case of “Read only” privileges, user can only view and export data from model.